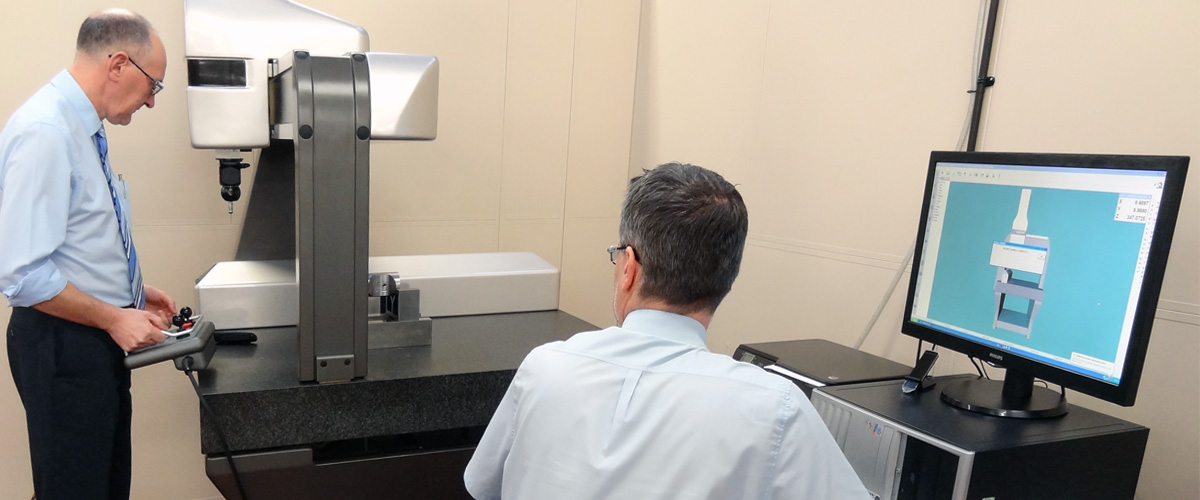
That’s why we recently invested in a new Co-ordinate Measuring Machine to improve our internal quality control process. The new Co-ordinate Measuring Machine (CMM) is used to check the accuracy of the components we make against their original design, particularly when we have created a bespoke product to a customer’s specific requirements.
The CMM machine works by measuring the geometry of a physical object using a mechanical probe. The probe can be manually controlled by an operator or computer controlled. It provides measurements that are accurate to within three microns – that’s just three-thousandths of a millimetre.
While we have other measurement tools and our own manual procedures to check components at different stages of the manufacturing process, our new machine provides even greater reassurance for customers that the valve or gauge products you receive from us meet your requirements and are ready to be used as soon as you get them.
To find out more about our production facility and our expertise, take a look at our About Us page.
